As I write about these solutions, I’m thinking of my android, wife’s iPhone and my big DSLR camera. We take pics on all three of them, and those pictures (automatically whenever possible!) flow into local and remote locations for viewing, sharing and safekeeping.
- Local backup to home NAS (Network Attached Storage), Western Digital MyCloud
- Remote backup to cloud service, Google Photos
Local Backup
Purchase a NAS (newegg personal cloud storage). You plug the hard drive directly into your router. The hard drive will show up on your local network where you can copy files to it.
At the time I’m writing this, the Western Digital MyCloud stands out ahead of the crowd in value and functionality.
There are two flavors of the MyCloud
- MyCloud Personal (4TB $170 newegg) single hard drive
- MyCloud Mirror (3TB $350 newegg) dual 3TB drives
 I recommend dropping the additional cheddar on the Mirror version. My Mom had a recent hard drive failure and lost many pictures and important documents. This was because while she had an external hard drive, the documents and pictures were saved ONLY on the external hard drive. [pullquote]
 Simply having an external hard drive does not mean you’re backed up.[/pullquote] The WD Mirror NAS has two hard drives. At any given time, the WD Mirror maintains an exact copy of your files on the second hard drive. Should either of the drives fail, you’ll be alerted to the drive failure, and can address the problem before any data loss. Here’s a decent youtube unboxing video for the WD MyCloud Mirror including pulling a drive and the web-interface.
 Next, you need to get your phones setup to use the NAS. WD comes with an app for backup, but I chose to use a different app for copying photos and videos to my NAS. I figure WD specializes in hard drives, where as this small PhotoSyc app focuses entirely on syncing photos.
android setup
For this example, I’m using my android 7.1 and Photosyc 3.1.1. On the initial run of the app, hit the dot-dot-dot in the top right, and select settings.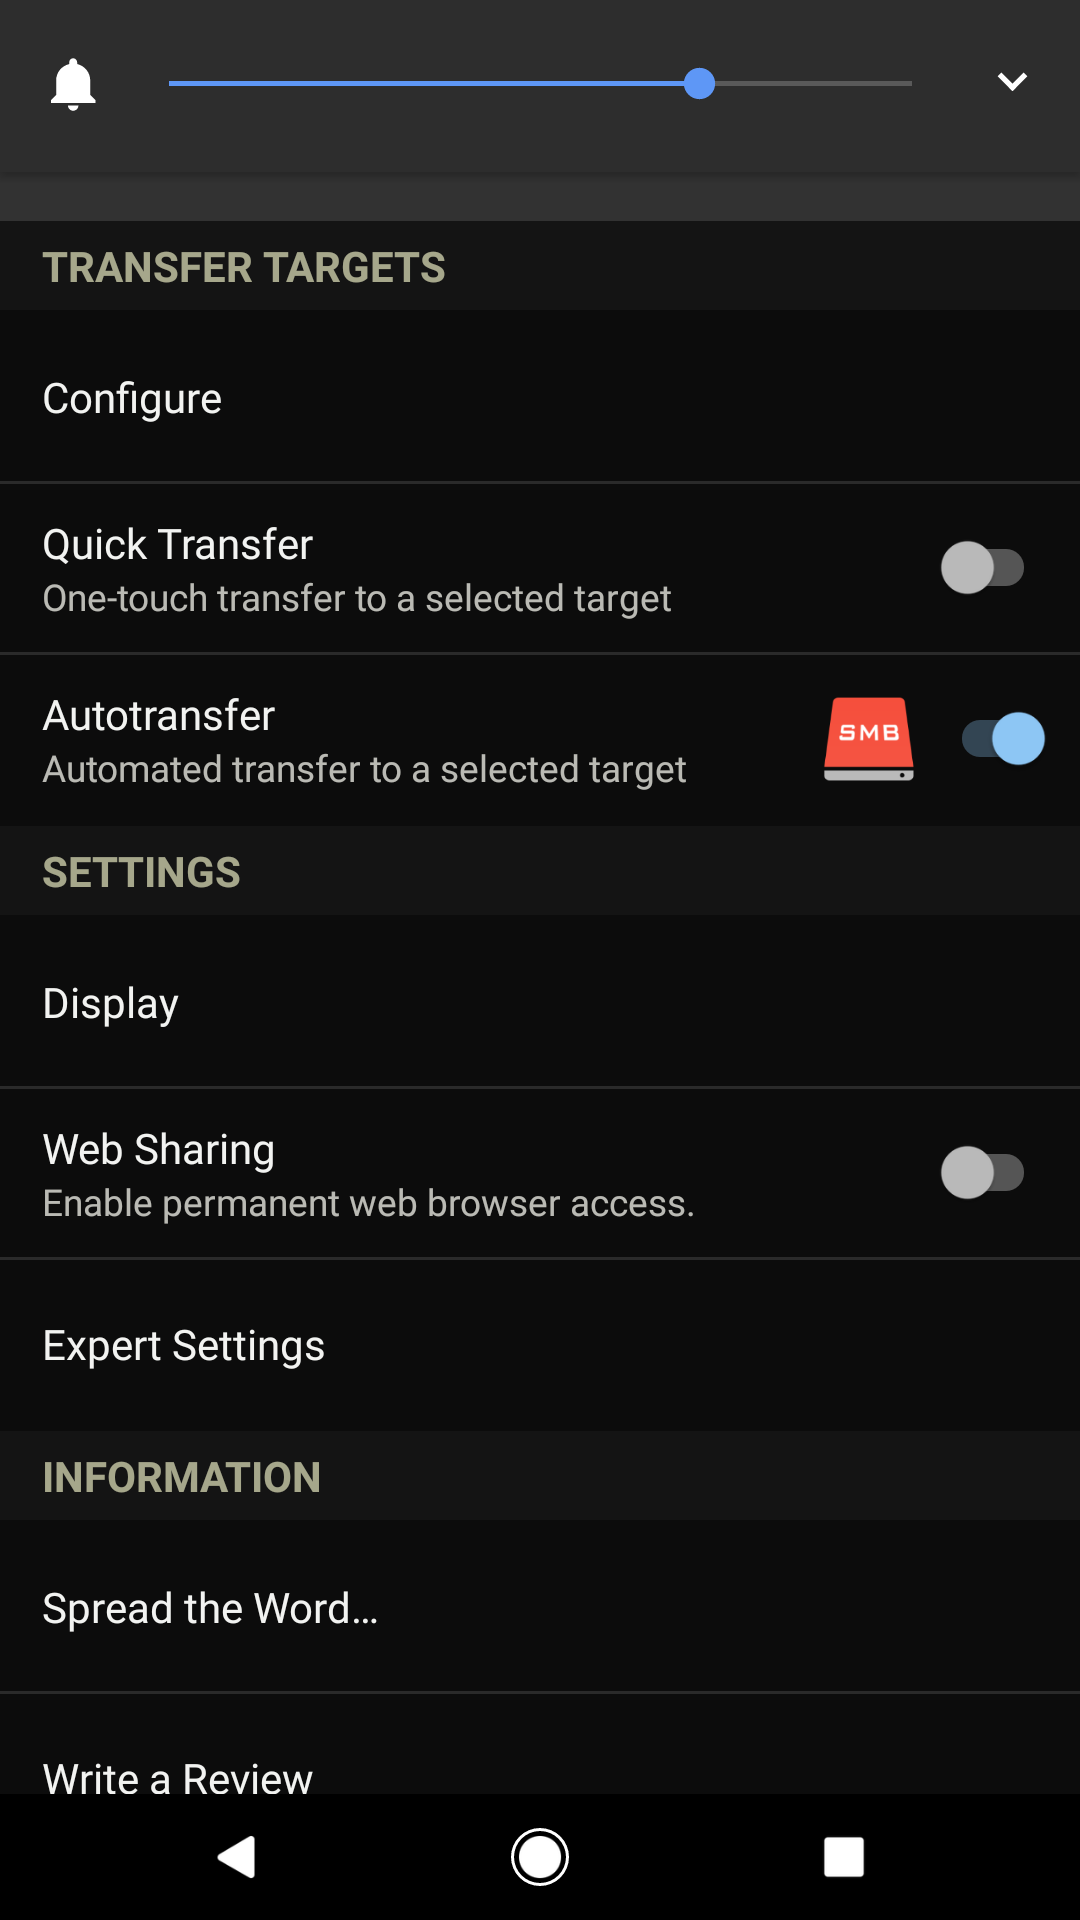
In my picture, I’ve already got SMB setup, so you can see the little blue tick is ON. But we’re going to set up an SMB connection. SMB is standard Windows file sharing, and all NAS’s should have it activated by default.
Hit Configure at the top, then you’ll see this screen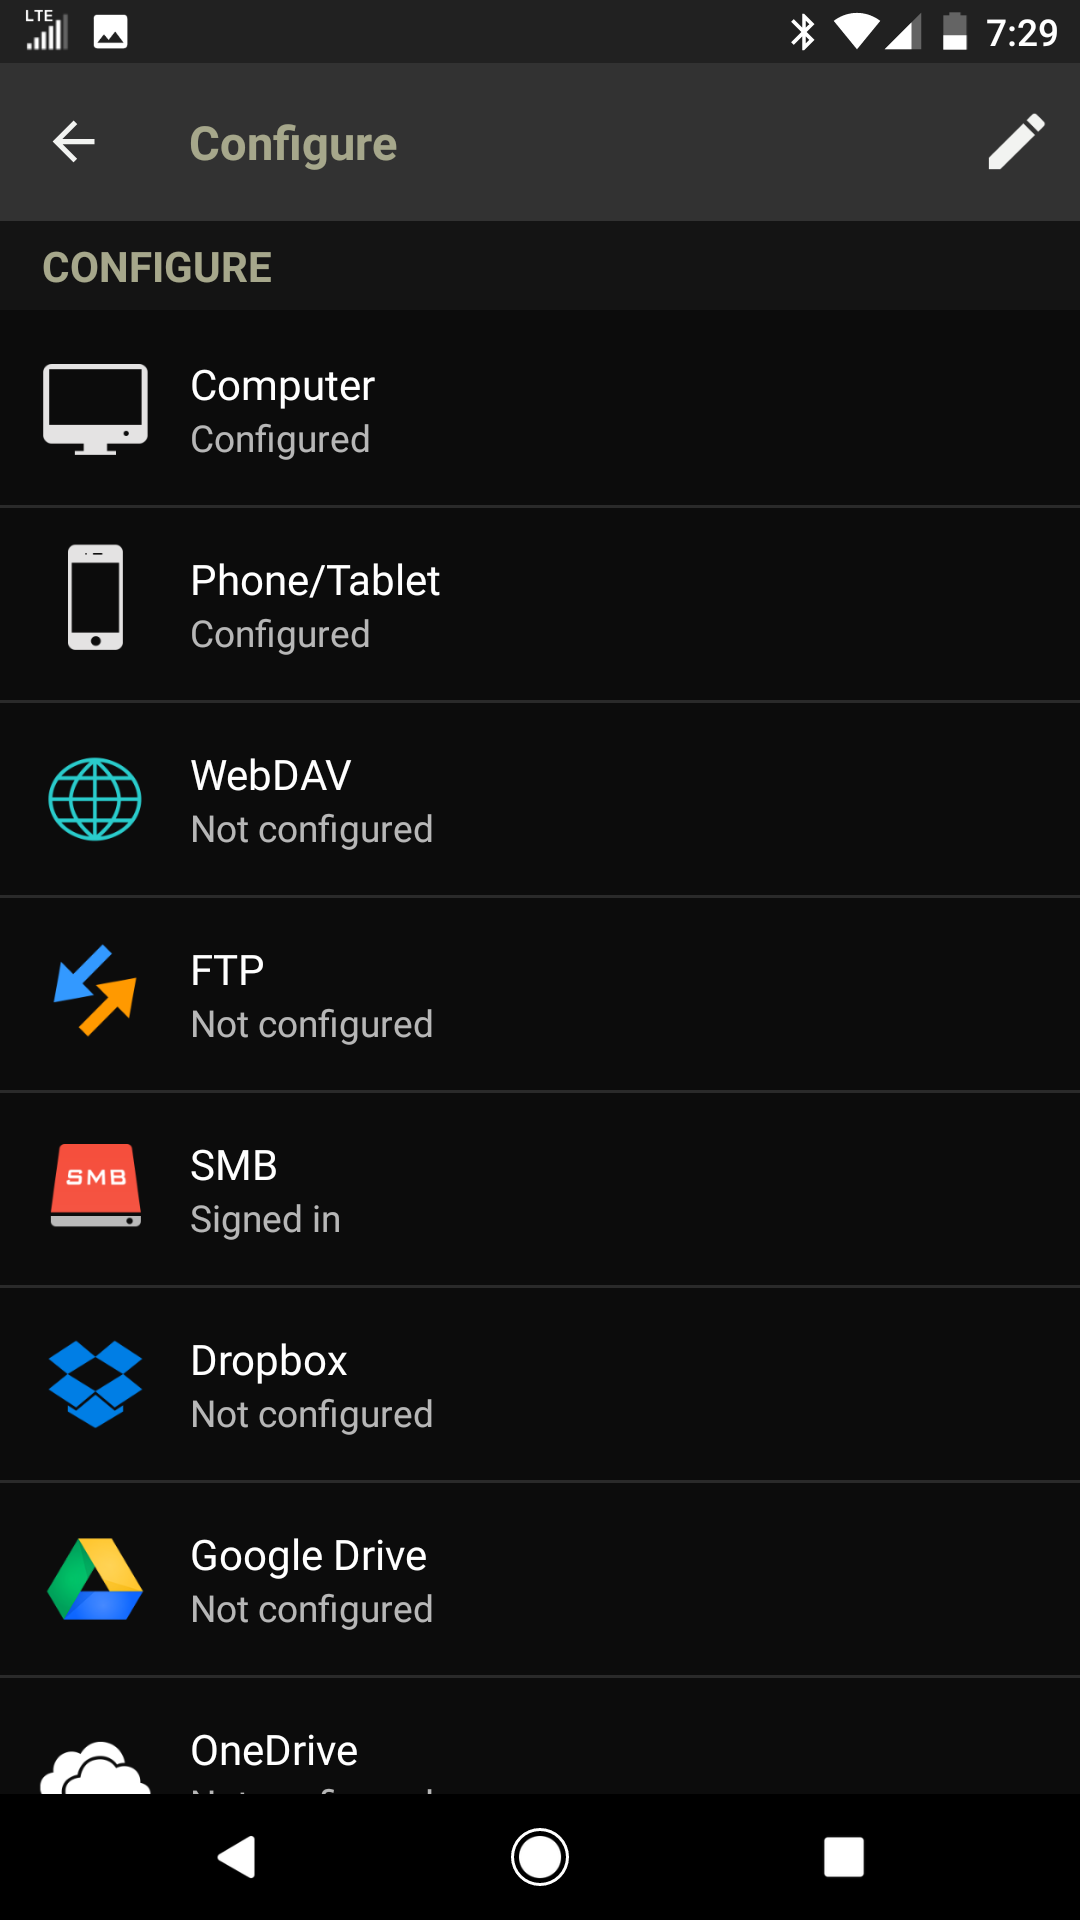
Select SMB, then type in the IP address of your NAS if you know it, or you can use some other search features in that window to find your NAS.
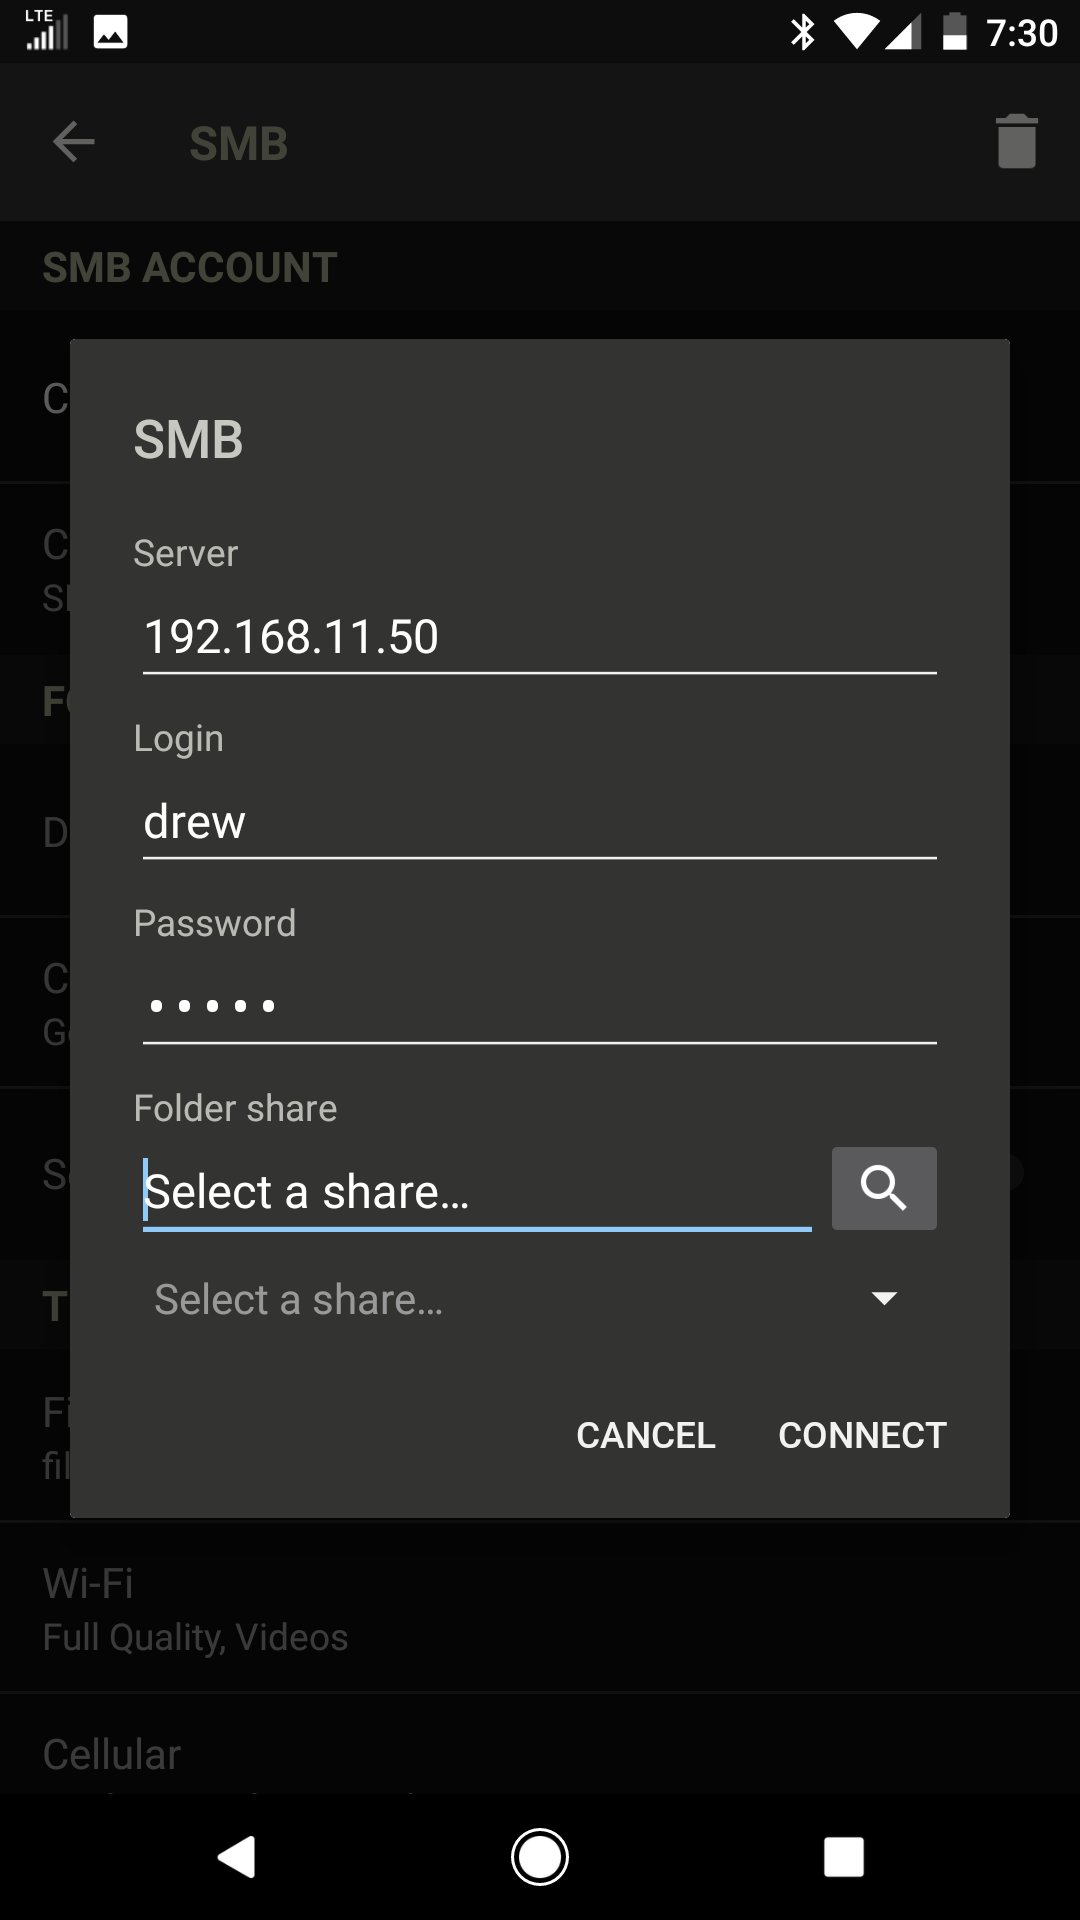
Go back to the PhotoSync Preferences screen, and you’ll see the location you setup, turn that on for Autotransfer.
Ah, I also setup a custom subfolder scheme. Settings > Configure > SMB > your NAS name > Create sub-directories. Scroll down, select “Add custom format”
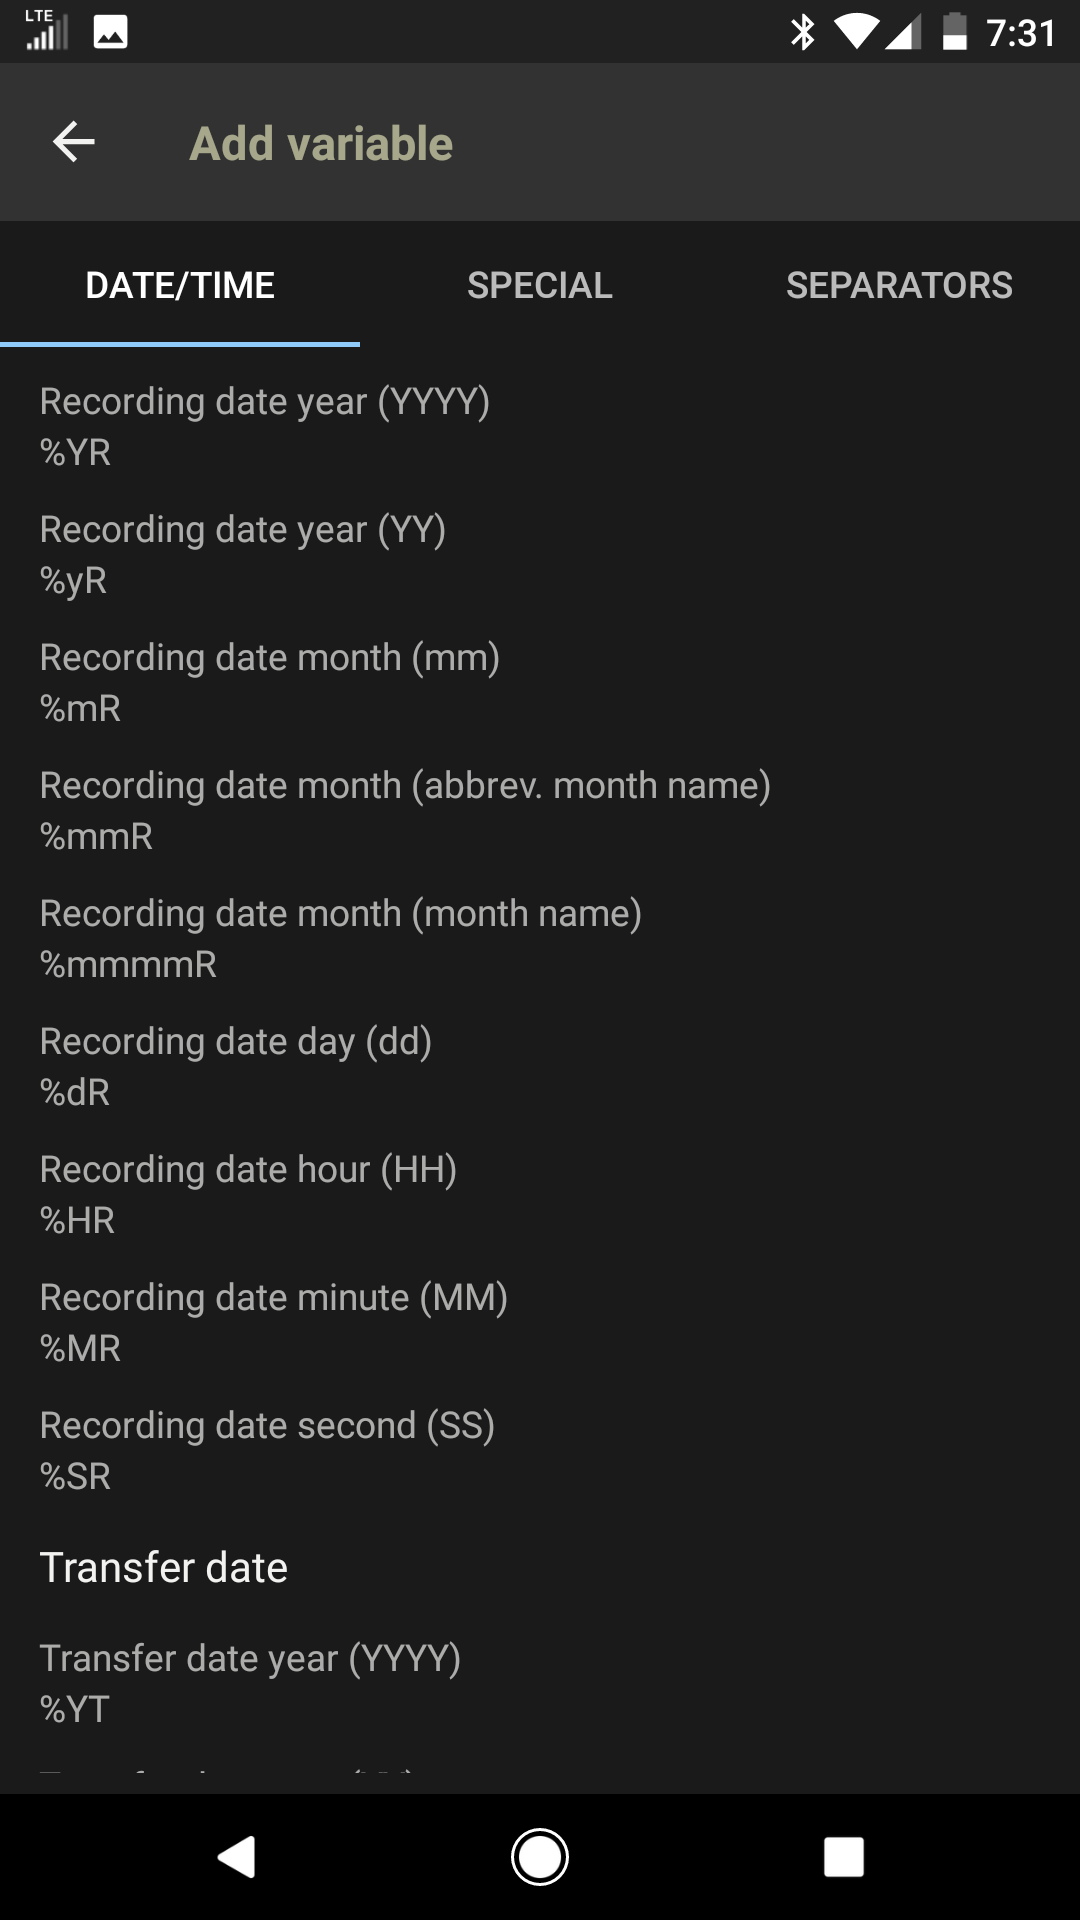
I called this one year-mm. If you hit the little plus, you’ll see what you can put in there. %YR puts the four digit year, %mR puts two digit month number, so mine is %YR-%mR, which dumps my pictures into 2016-12, 2017-01, 2017-02, and so on.
I bet you can’t get that level of customization with the Western Digital App on both iPhone and Android. I don’t have my wife’s iPhone on me at the moment, so I’ll muff over this part – but it’s the same app, so setup should be close to identical.
Monument photo storage  I had such high hopes for this Kickstarter. Received my Monument around 11/2016. Setup was a total failure, and at the time I got it, neither iPhone or android app was available. After the apps became available, I threw 1-2 hours of a spinning hourglass, and multiple restarts getting nowhere. The Monument is now a paperweight at home.
There are other NASs available. At home, I have a custom built unRaid server. I do not recommend this for… anyone. Here’s my build, and the unraid website.
Cloud Backup
 Google Photos – my favorite so far. Google has implemented some excellent features: apps for both Android and iPhone, auto cloud sync, touch up, crop, face search, automatic subject search, sharing images and albums, auto organizing.
There are other solutions to the managing of our photostreams: facebook photo sync, appple iCloud, amazon cloud drive, microsoft one drive, smugmug, and others.
I bet software packages, pricing, and services, will be changing on a monthly basis. So it will be best to do a little research on your own. Here are more links to get you started:
- Google search “compare photo storage” articles in the past year only
- Time.com Photo Storage Showdown – Google Photos, Apple iCloud, Amazon Prime, Dropbox, Flickr
- Digital Camera World “Top 6 options” – dropbox, google, microsoft, flikr, adobe, canon
- Configure WD MyCloud for FTP access howto
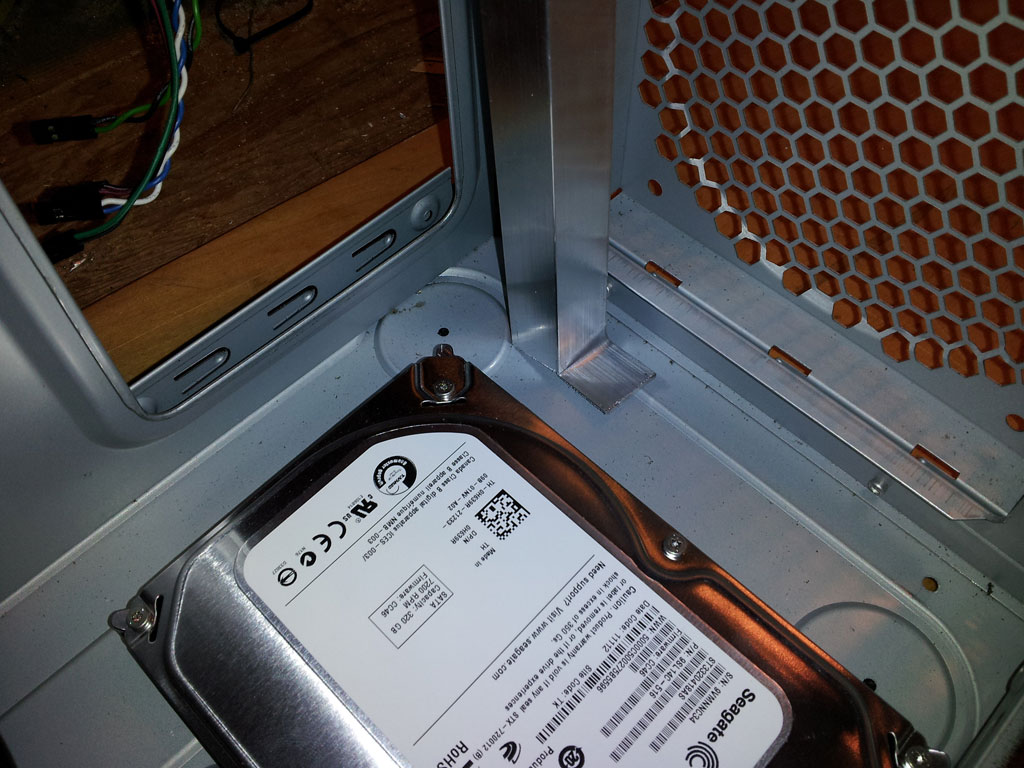
 You can also see a little notch I made in the bar to accommodate some other bits of the case. You can gouge yours out as needed.