
Wanted to post this case hack and a few of my observations, and things I’d do differently if I did it again. I had/have an Antec 300, and due to the spacing between each 3.5″ drive, I just couldn’t fit all the drives I wanted to in there.
I have an 8 cable SATA port replicator, and there are another six motherboard SATA ports, making for a lot of hard drives. I’d seen somewhere else where some dude had done this hack, and I wanted to try it myself.
materials
aluminum angle bar like this one. Estimate the height of your case x4, round up, and get enough of the stuff.
drill and bits
8x bolts-nuts-washer combos
adding more hard drives? Make sure you have enough drive screws, power cables (splitters are nice), and sata cables
Start by drilling out the aluminum pop-rivets holding in the steel drive bays.
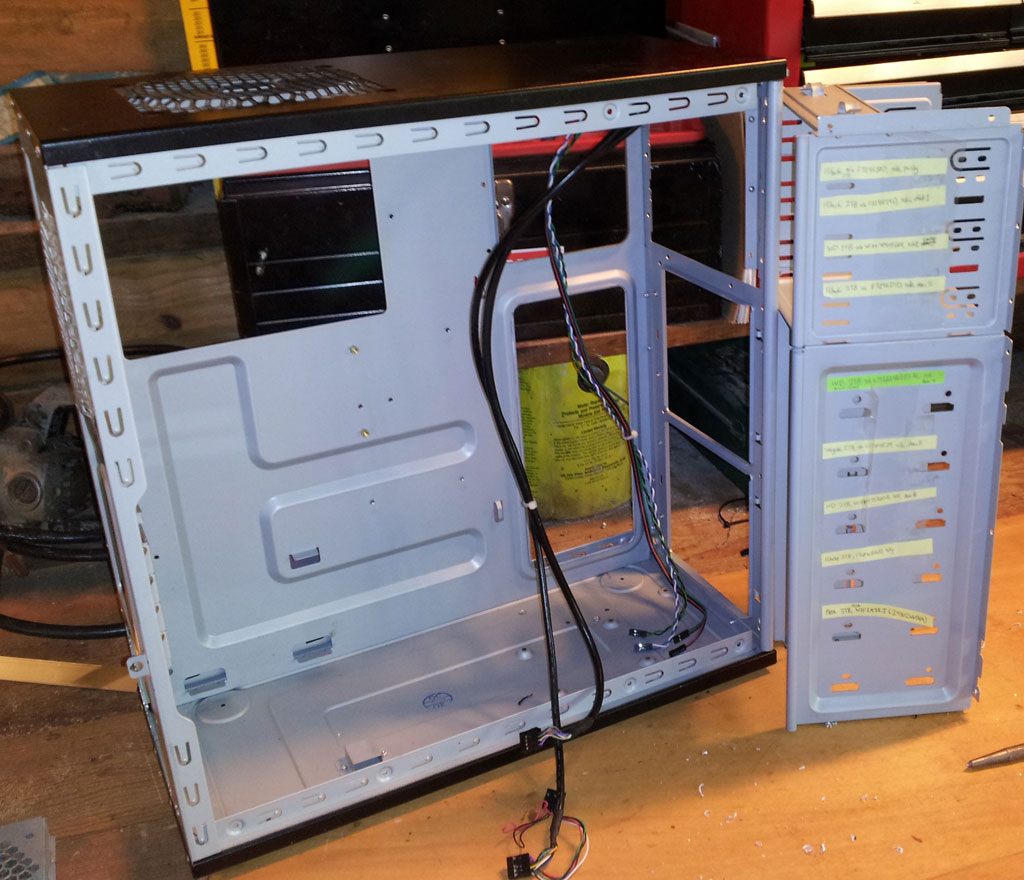
These come out pretty easy. I broke two drill bits doing this because I wasn’t applying straight even force to the drill. It helps to hold the butt of the drill with one hand, and squeeze the trigger with the other hand. You’ll have to put your case against something to keep it scooting away from you.
The next step is the most important, and most irritating. You need to measure and cut your aluminum angle bar. The adage of measure twice and cut once is a good one. Leave extra room on both the top and the bottom for a tab to bend over to put the bolt through to secure the bar.
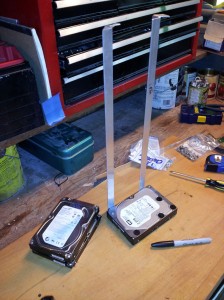
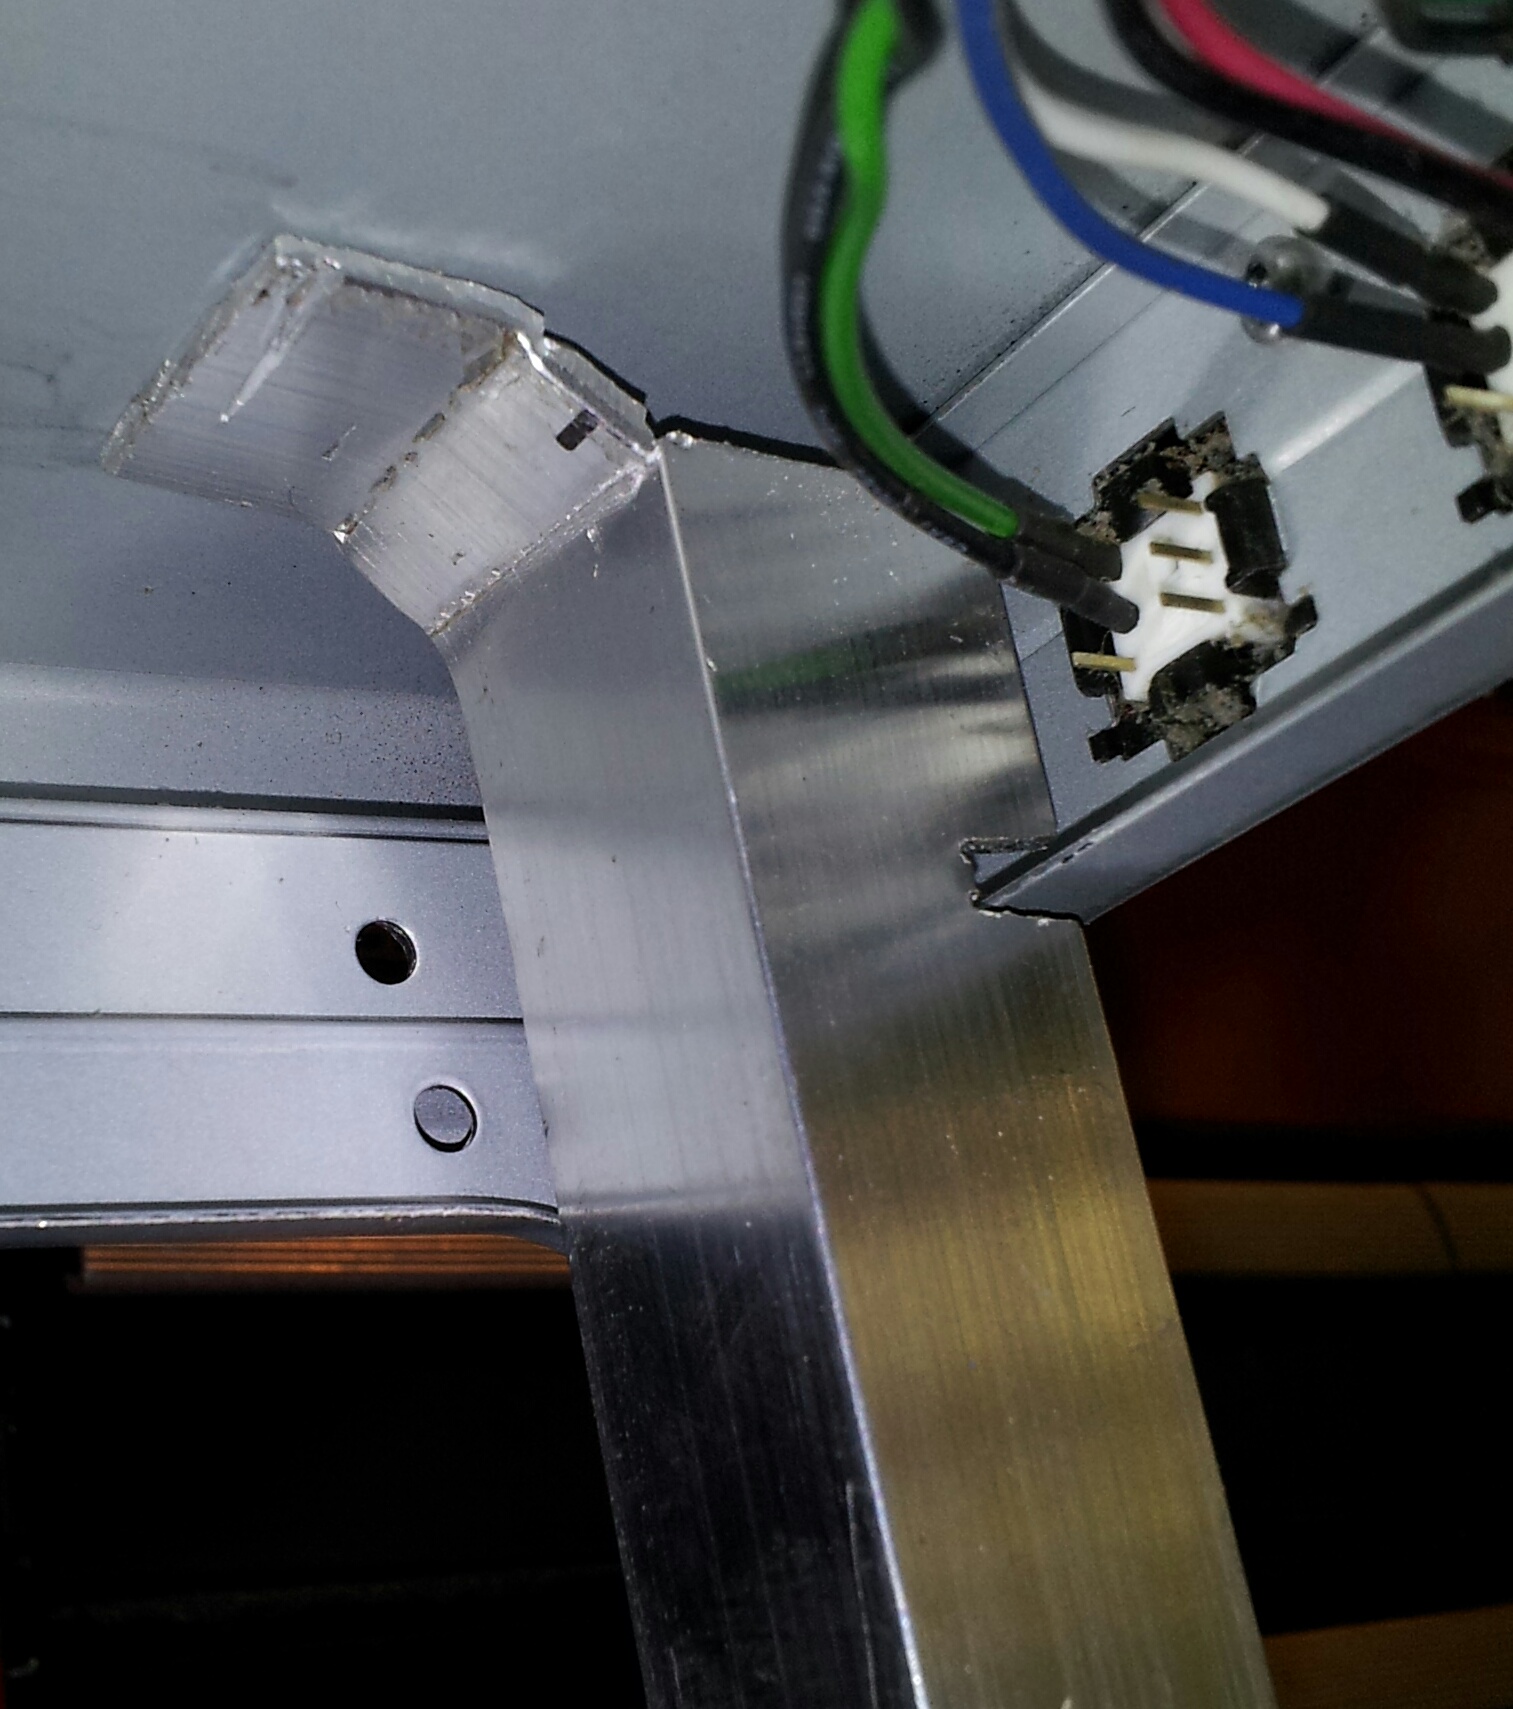
In this shot you can see I’m trying out a drive in the rails. The angle is a little misleading because you can’t see the other side of the L shaped aluminum bar, but it’s there. These are NOT flat aluminum bars. I suppose they could be though.
Because my Antec 300 is a wide case, I’m going to put these drives in so their back sides are facing the main side door to the case.
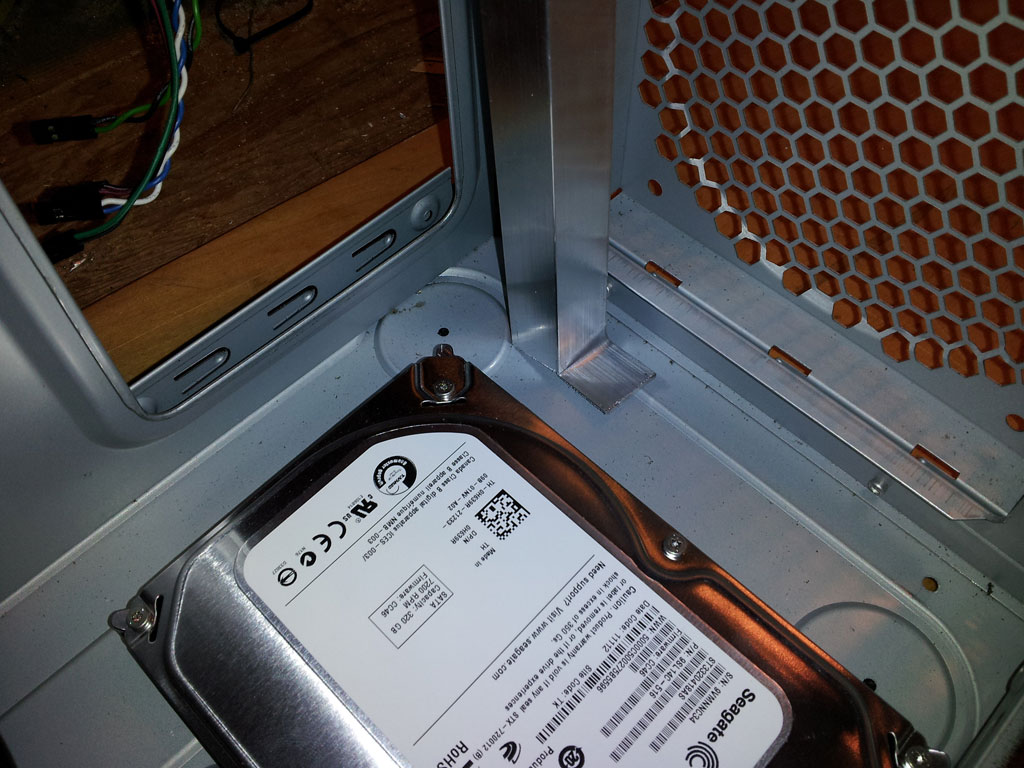
Here’s a spot where you can save yourself some grief. You’re making this from scratch. Save yourself some trouble and install each bar so you can reach the drives screws easier. In the above photo, I should have bent the tab the other direction, and rotated that bar 180 degrees. It would be close between the lower most drive, and my securing bolt, but at least it would be easier to reach both of them.
Finish up the four bars, checking, and double checking for length. It’s okay if they’re a little short or a little long. Once you slam the securing bolts in there the case will bend, the aluminum will bend, and it will all be happy.
It’s a good idea to put a couple of drives in there. One at the bottom, and one at the top. Try it out for fit and see where you’re at.
Which brings me to another spot that’s tricky. With the rails in there, there’s no way you can get a drill in there from the inside. Here’s what you do. Pull your angle bars out, drill small holes in all of them. Put the two drives back in (top and bottom). Line them up with where you want them. Get a mechanical pencil, jam it in each hole and work it around a little. This should make an obvious mark where your four holes are going to go. Pull out the bars and drives, and drill the holes, from the inside out. Replace the bars and drives to check the location of your holes all the time.
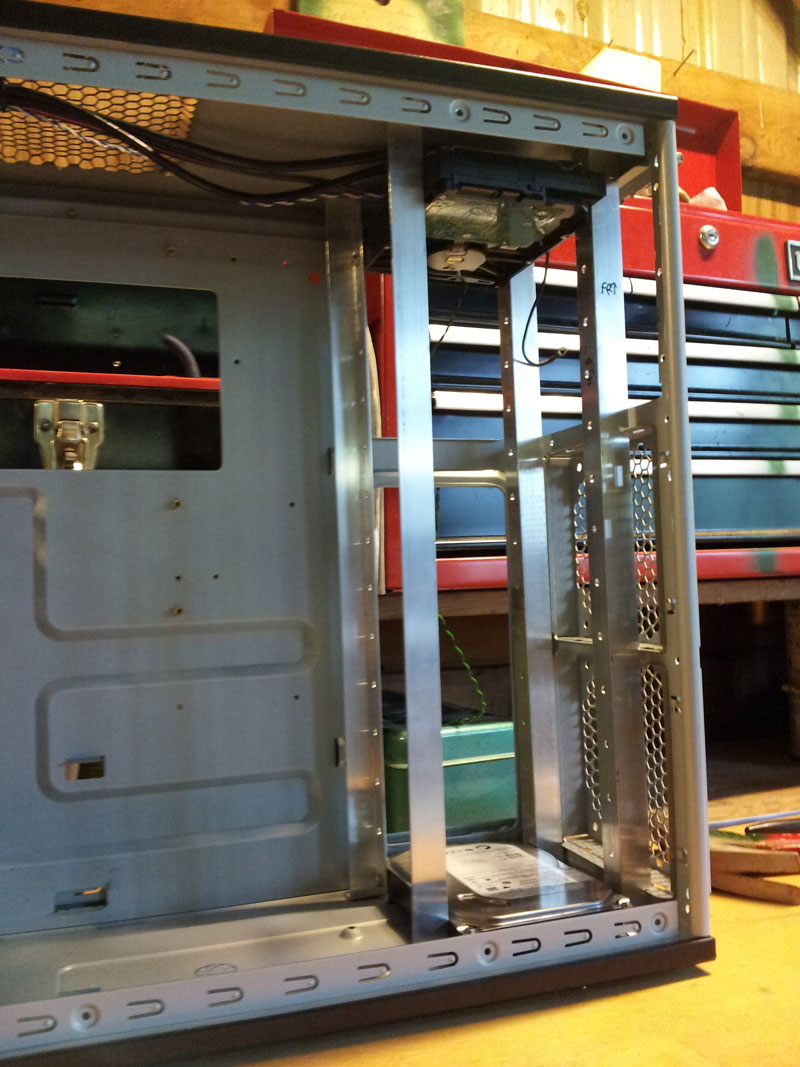
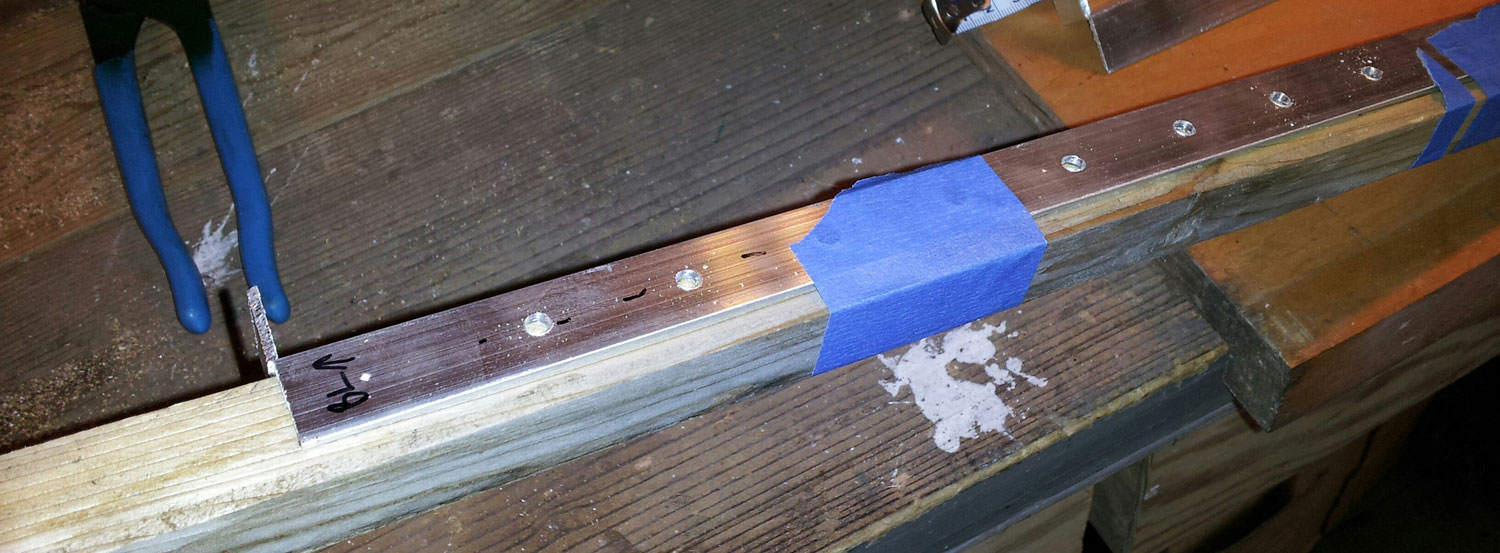
Of course, I screwed something else up here, and cut one a little too long, then a little too short. This is what it looks like now, but it’s still totally serviceable.
 You can also see a little notch I made in the bar to accommodate some other bits of the case. You can gouge yours out as needed.
Now for a more fun part – drilling drive holes in all four bars. I put a couple of drives together and found that exactly 30mm from screw hole to screw hole would keep a small space between drives where I think enough wind could get through there to cool them off. At the moment, I have two drives at 37C/99F. Here are two machining tricks you can use with almost no tools.
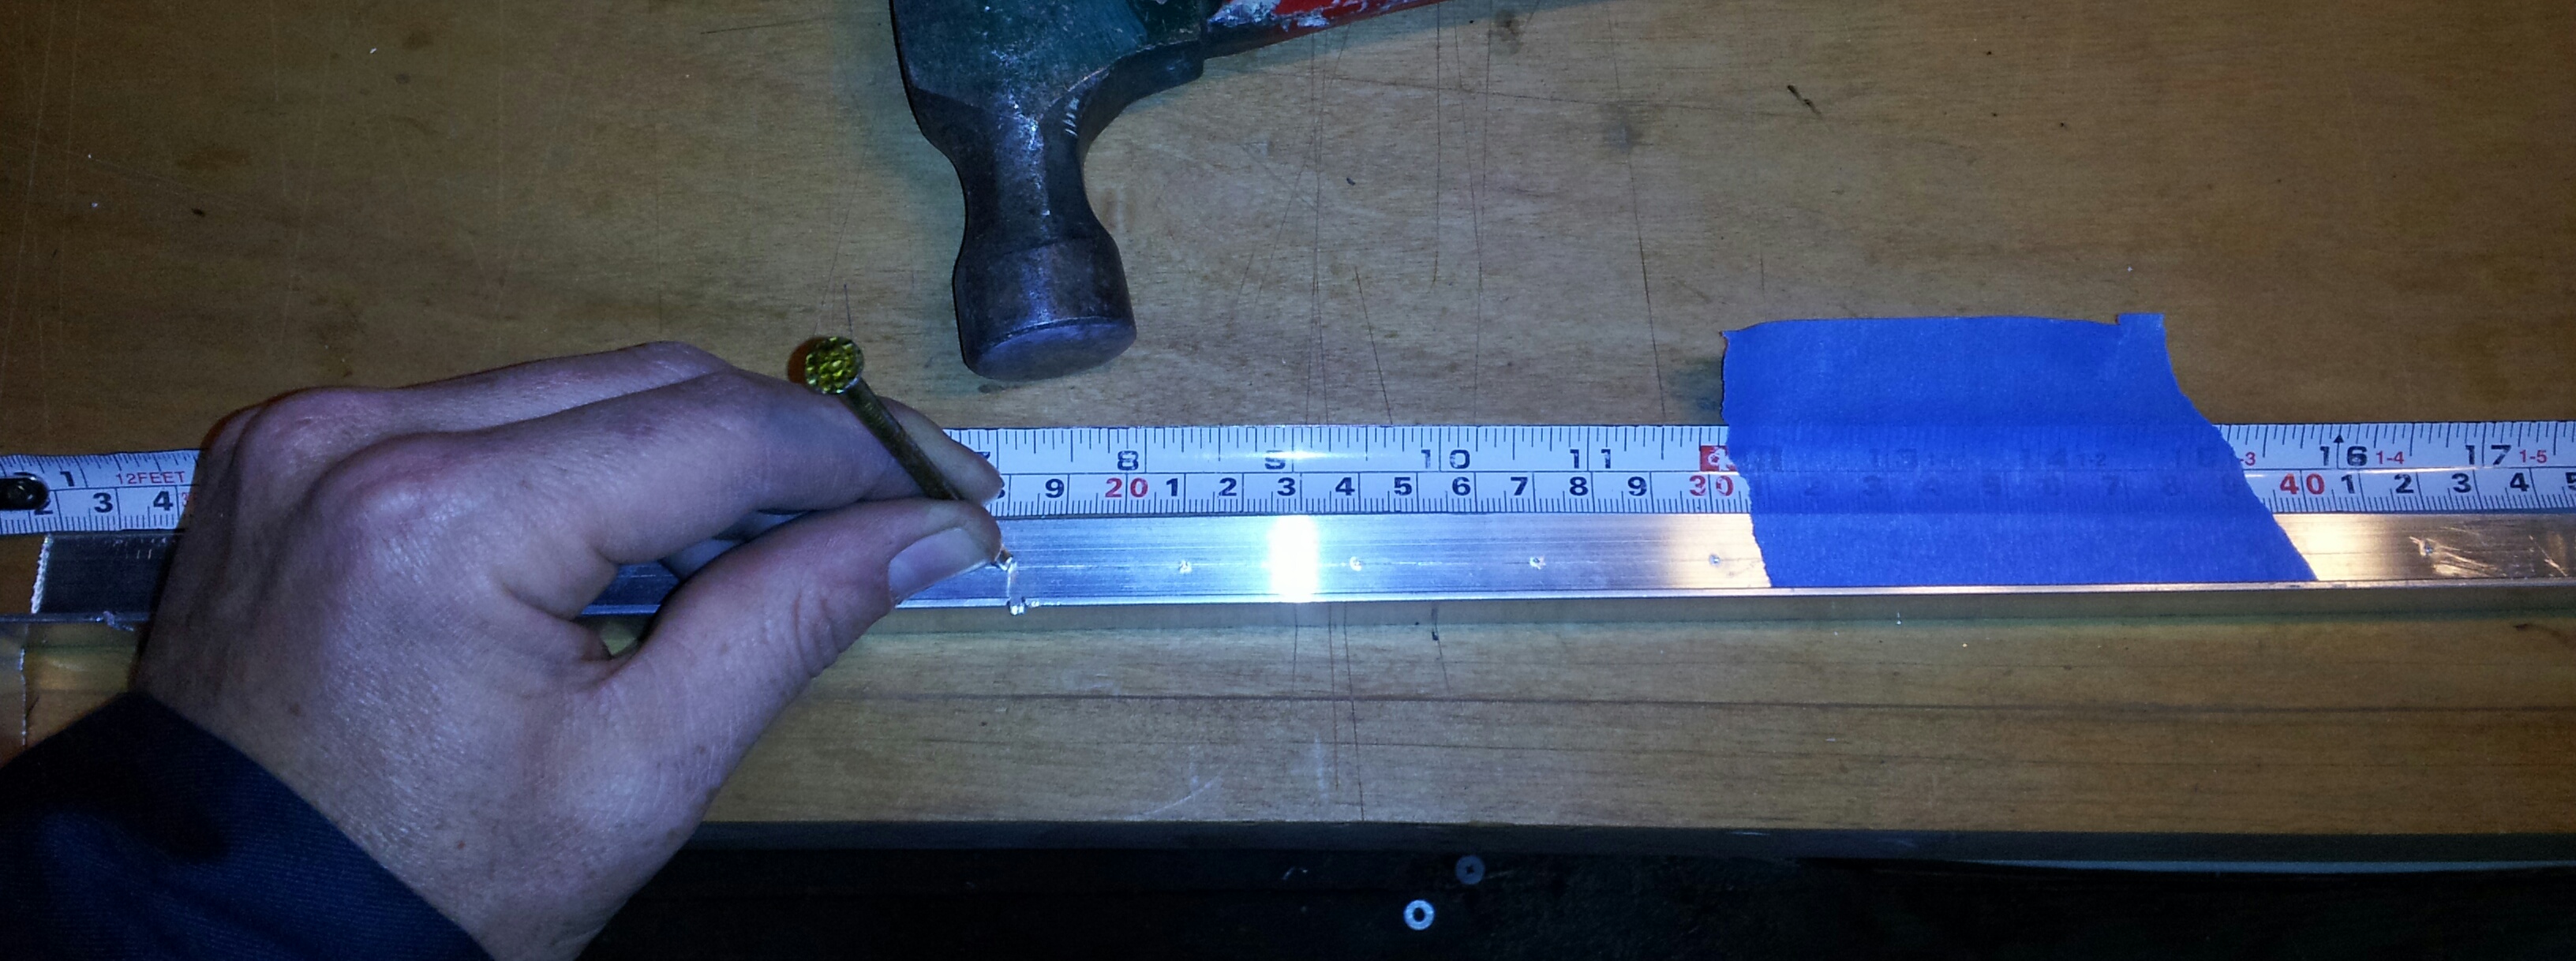
Use a nail (or nail punch is better) to score the bar right where you want to the hole to drill through. This makes a little dent for the drill bit to happily sit in and drill through. Otherwise, you’ll have a tough time getting the bugger to drill in the right spot. I used a straight edge (a different bar) to scratch a line down the whole bar right in the middle. I bluetaped the tape measure to the bar, then bonked a dent, centerline, every 3cm down the whole bar. Then I proceeded to break another two drill bits, until I put the bar on a crappy piece of wood and took it to a drill press.
Mark the center with a scratch, pre-score all the holes, and you should be okay.
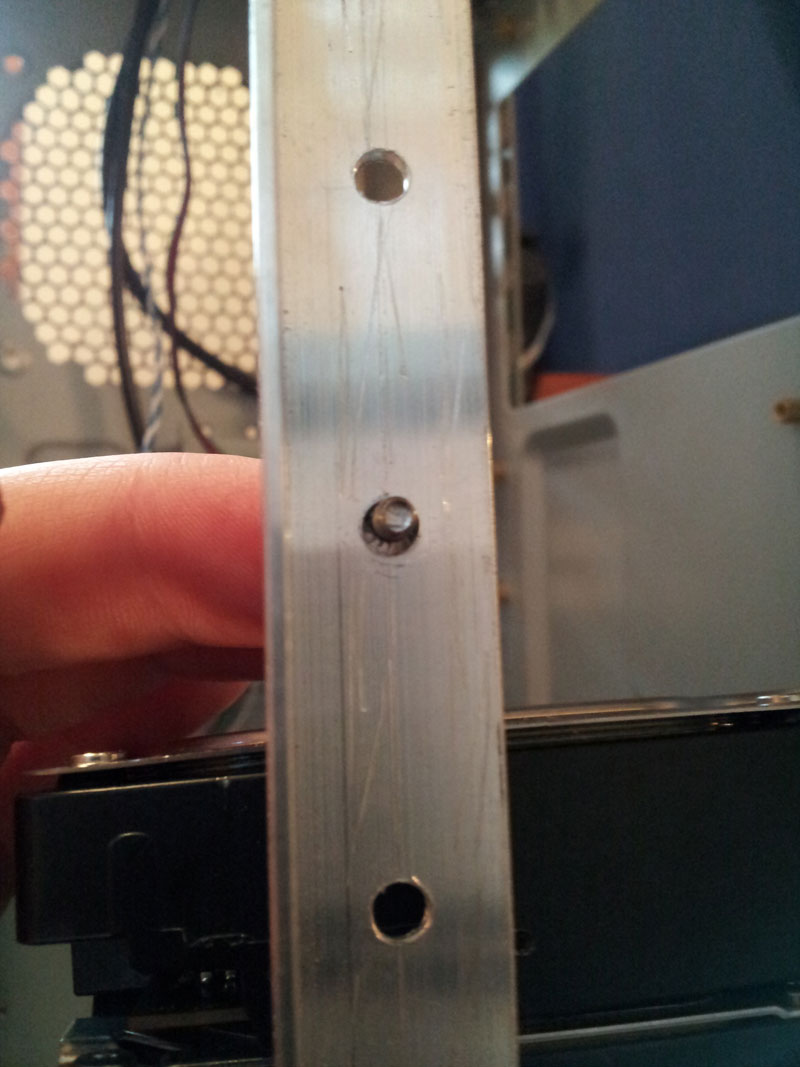
Also, use a bigger drill bit than you need, but not so big as the screw falls through. This will give you some leeway down the line. It’s real hard to do this perfectly!
Now that I’ve got all four rails the right length, mounting holes drilled, hard drive holes drilled, it’s time for the moment of truth. This is a pain in the ass. It’s impossible to pull out a single drive without unbolting the entire tower and scooting it about four inches from the front of the case so I can weasel a snub-nosed philips head in there to unscrew the hard drives screws. BUT, the case now holds all my drives with room for more!
I haven’t tried moving any drives around yet after this initial installation. I don’t anticipate I’ll have to, but the real trick is if I can successfully get a drive out without having to pull the MOBO and PSU as well. Just like a modern car where you have to pull out three things just to get at one thing!
Jamming this many drives, in this configuration doesn’t seem to be too far fetched of an idea. I would think there is already some case manufacturer out there that has something identical to what I’ve done here.
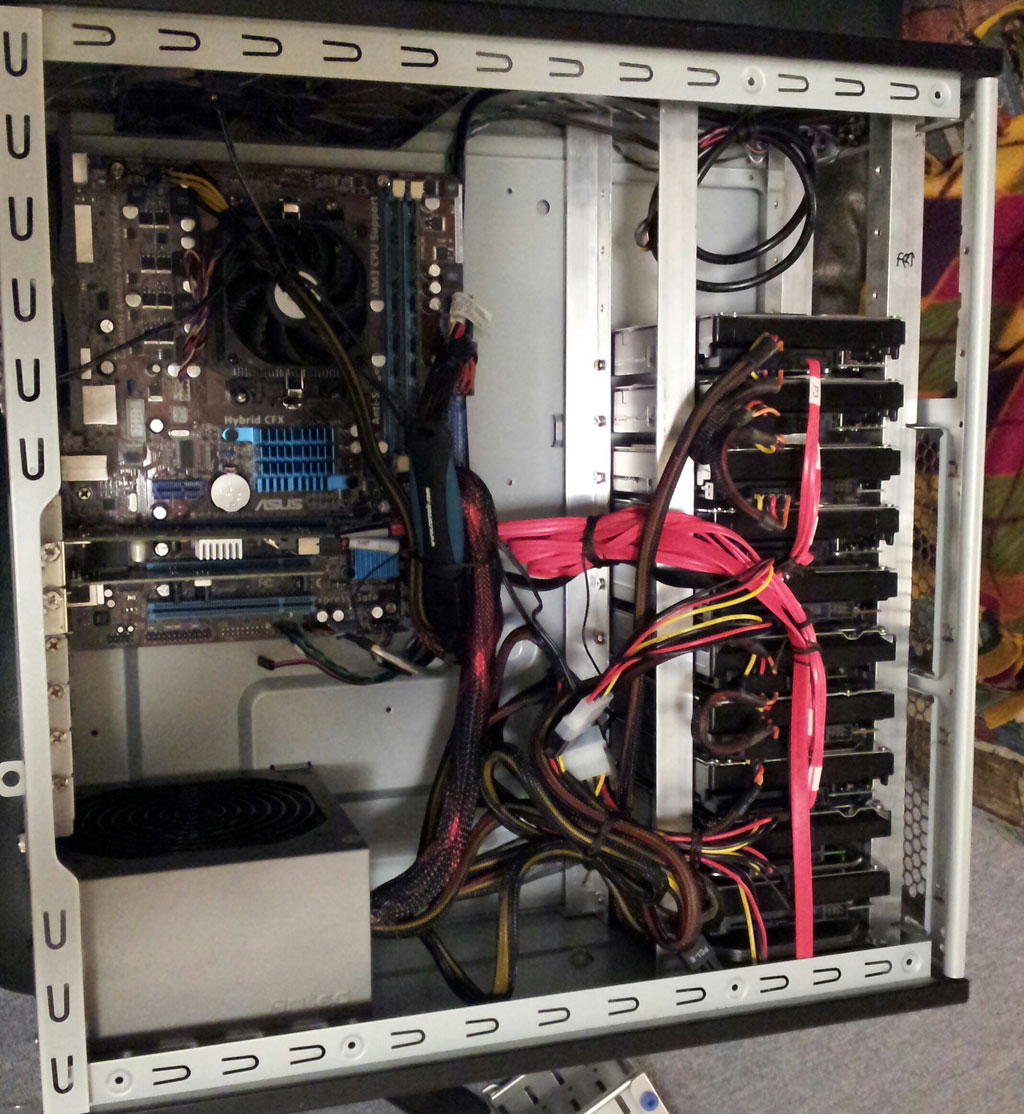
Another note – Angled power and SATA cables. Some are angled UP and some are angled DOWN. If you look closely at those two links, you’ll see the yellow wire is on the other side from the other. Now check out my stack of hard drives. I have the wires on the top drives going down to the middle where they’re bunched up, and the bottom half of the drives heading up to that same bunch. It would be slick if the power and SATA cables were angled in the direction they needed to go. Mine, of course, are all over the place so I just had to bend the crap out of a few of them to get them to lay flat so I could close the lid.
It all worked out okay in the end, and the unRaid server is purring along nicely. If the drives start getting too hot, I can add two more 120mm fans in the front of the case that would intake directly to the drives. I’ll keep an eye on temps as time goes on to ensure they don’t get above 50C.
Leave me some comments on some other cases that are already like this. I’m curious of a better way to secure these drives without having to slide the whole damn tower to the side to reach screws.
OS at time of building: 5.0-rc12a
CPU: AMD Sempron 145 – 2.8 GHz
Motherboard: Asus M4A78LT-M
RAM:2GB Kingston valueram
Case: Antec 300
Drive Cage(s): Cooler Master STB-3T4-E3-GP 4 in 3
PSU: Antec NEO ECO 400C 400W
SATA Expansion Card: Supermicro AOC-SASLP-MV8
Cables: 3ware CBL-SFF8087OCF-05M, 2 qty
Fans: 1x140mm top exhaust, 1x120mm rear exhaust
Parity Drive: Seagate 3TB
Data Drives: 4xHitachi 2TB, 2xWD 2TB, 1xSeagate 2TB, 1xWD 1TB, 1xWD 1.5TB
Cache Drive: Seagate 320GB
Total Drive Capacity: 16.5TB
Primary Use: Plex media server, torrent seed box