
~2010
Starting up a compost has been surprisingly entertaining. It’s neat to see my “garbage” turn into something more useful simply by sitting there.
I decided to make our compost container out of old pallets that we picked up from stores in Berkeley. (+) free (-) old wood = brittle wood. You also need to paint the wood bits or the damp compost will compost the boards too.
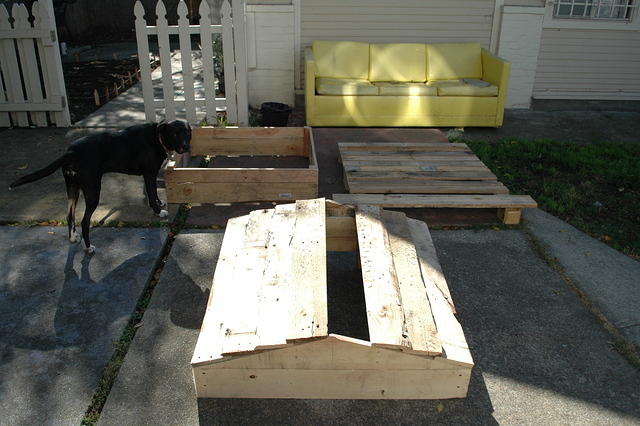
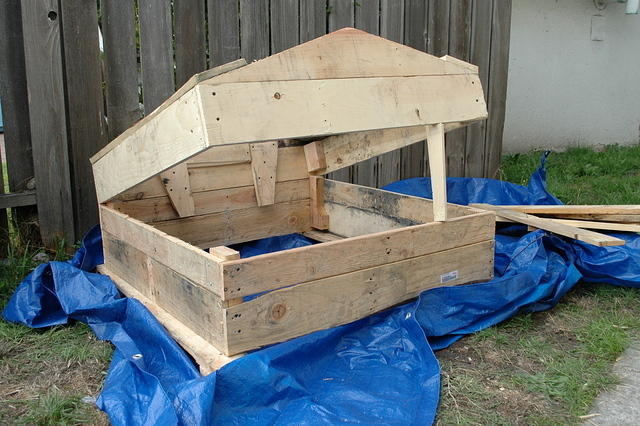
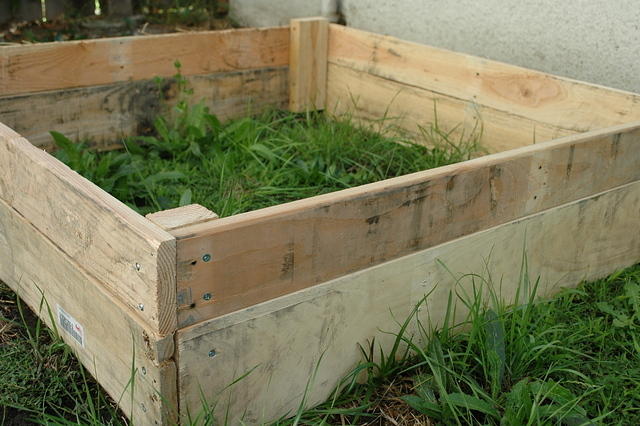
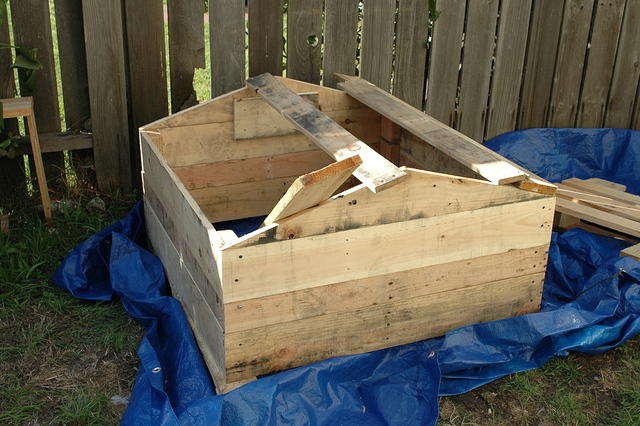
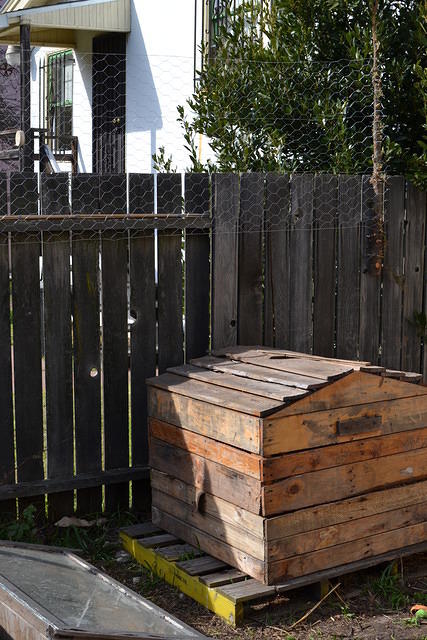
The basic idea here is that the bottom is made of two rectangular bits. This way, you can pull off the top, pull of the top section and set it somewhere else in the yard. Then with a shovel, you shovel out the old heap from the old location into the new location. This rotates the heap up side down. Once you get some worms going in there, they will probably go bonkers. Bugs and worms are good!
Apparently it’s also good to relieve yourself on the compost heap. Just want to do my part 🙂 http://www.guardian.co.uk/lifeandstyle/gardening-blog/2009/nov/13/composting-urine
Ah, what goes in there. Everything except meat bits and bones. Pay attention to the general color of the compost. If it looks to gooey, add some grass clippings, and vica-versa. There are many “experts” on compost. I have a hunch there isn’t much you can screw up here except to not use it and add to it! Just go for it.
~2012
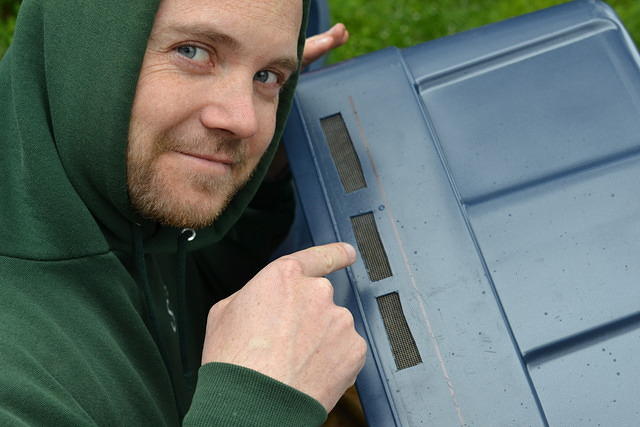 After using regular compost for quite some time, I thought I’d give a go at a worm bin. I used plans for a double plastic bin design I found somewhere on the internet. Essentially you buy two plastic bins that nest into each other. The inner bin, I cut little vents in the sides just under the rim. Then I drilled about ten evenly spaced small holes on the bottom of the bin. That modified bin nests into an unmodified bin. I also added a couple chunks of junk wood between the two so when the inner bin sags down, it’s got something to rest on.
 I started with 100 red composting worms from some dude named Uncle Jim Worms off amazon. Totally reasonable, $25 for 1000 worms. The bag came with instructions that made it simple to start them off properly.
I think the challenging part with these worms is keeping them at maximum productivity. That and then getting your worm casings (worm turd aka black perfect dirt) out once the bin weighs 40 lbs without killing everyone. Oh, that reminds me there is an awesome book with way better instructions that I’ve got here “Worms Eat My Garbage.”
I throw about 90% of our kitchen scraps into this bin. I fill it up, then go back a few days later and lo-and-behold, it’s magically gone back to essentially the same amount that was in there before. These little guys are magic.
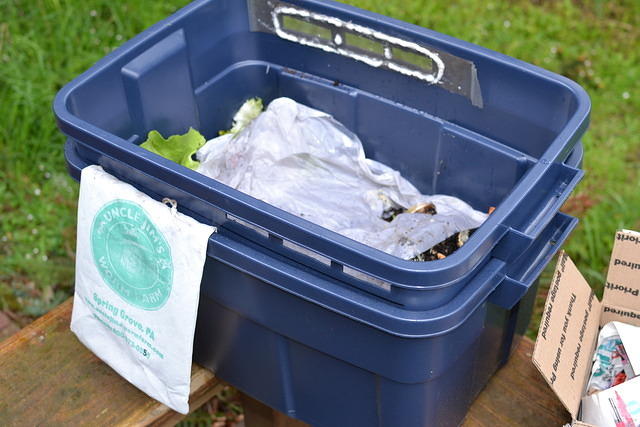
From time to time, I just add water to the mix. The book describes it as being able to wring a little water out if you squeeze it, similar to soggy cardboard. So if it gets a little dry in there, I just add water. The other side benefit of adding water is that the water goes through the worms and their casings, and black nutritious water comes out the bottom. I empty it out from time to time (and save the swimming worms that found a hole and jumped through) and use it to water plants around the house.
I’ve had the bin going for over a year now, and haven’t yet pulled the casings out, but it’s certainly high time I did. Good easy fun!
Oh last note: it’s been getting real cold in Port Angeles. I had the bin under a tree just outside the kitchen door for a while. But after we got some snow, I moved the bin into the garage. I was worried they’d all frozen to death, but these dudes are resilient! They just move slower. I could wrap the bin in some leftover house insulation that I’ve got to keep the coldest part of the nights off them. But for now, I’m happy with them being slow.